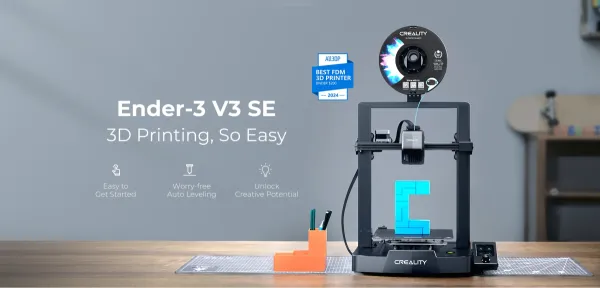
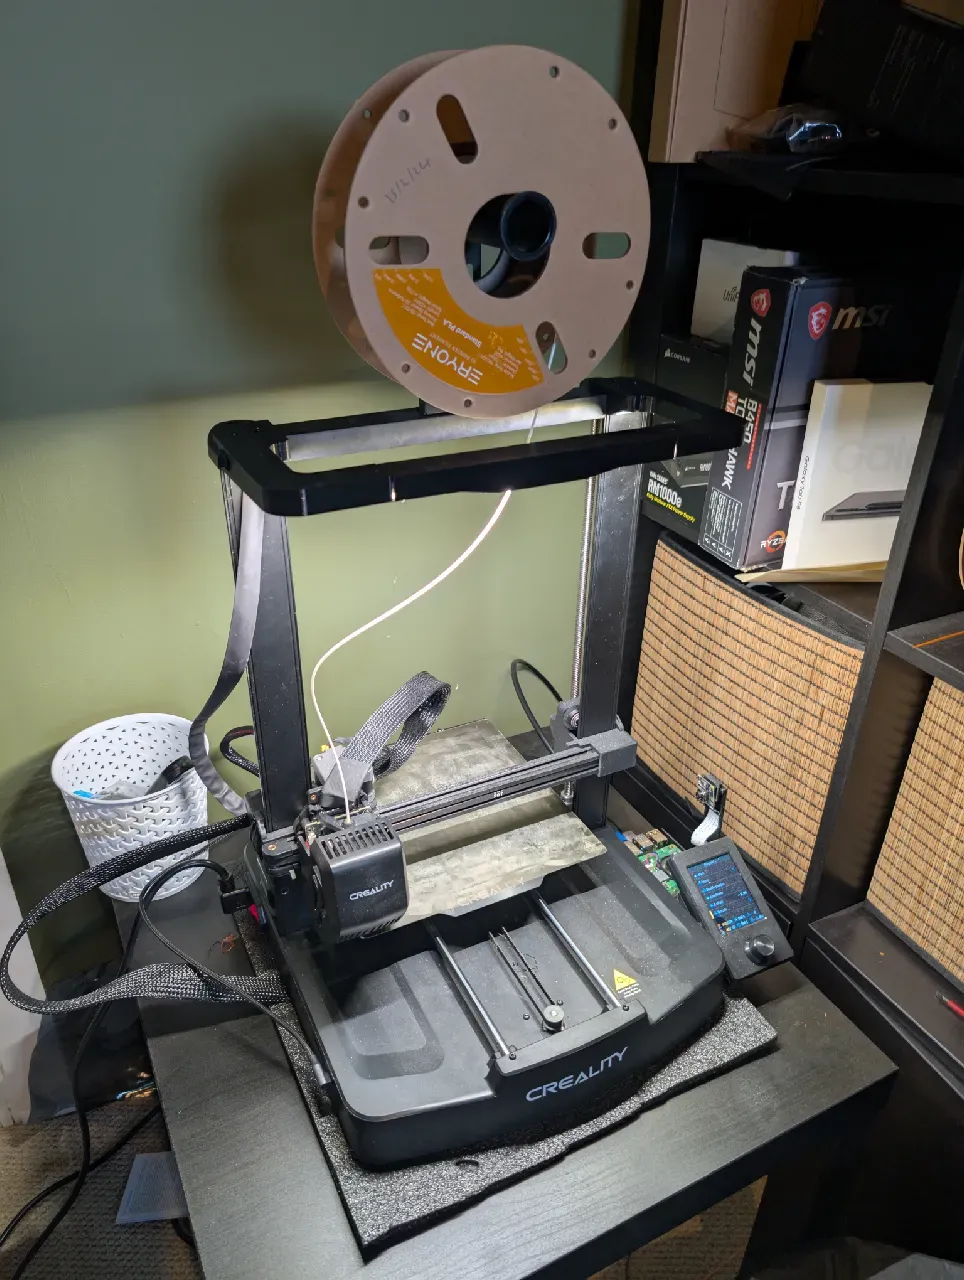
Ender 3 V3 SE - 15 months, 900+ hours
How has it gone?
Printing you could get into and just download and print models without diving much deeper, this is becoming easier and easier with the newer prints and the Ender 3 V3 SE meets this market at a cheap entry price point.
I have really enjoyed using the printer, been a great experience getting into 3d printing itself, becoming familiar with parametric modeling, making prototypes as I imagined as well as printing some models for friends and family and less solely functional needs.
The printer is sitting at 650+ hours on octoprint, it was 4 months before I set up octoprint, if anything I used the printer more initially so even at 250 hours pre-octoprint, the printer has now been used for over a conservative 900+hours, what problems have I had, what upgrades has it needed?
Do I need to upgrade to another printer after a year? Certainty not.
Breakages, Repairs & Replacements.
I have had one, yes one issue that required a replacement part costing £2.
A 0.4 nozzle, around the 500 hour mark became clogged, I tried using the included tool to try and clear it, tried heating it up, pushing filament through it, going through the change filament process a few times, and had no joy.
When the nozzle was removed it seemed to have a really thin layer of filament melted over it and was quite discoloured, so a recent failed print may have contributed to its demise.
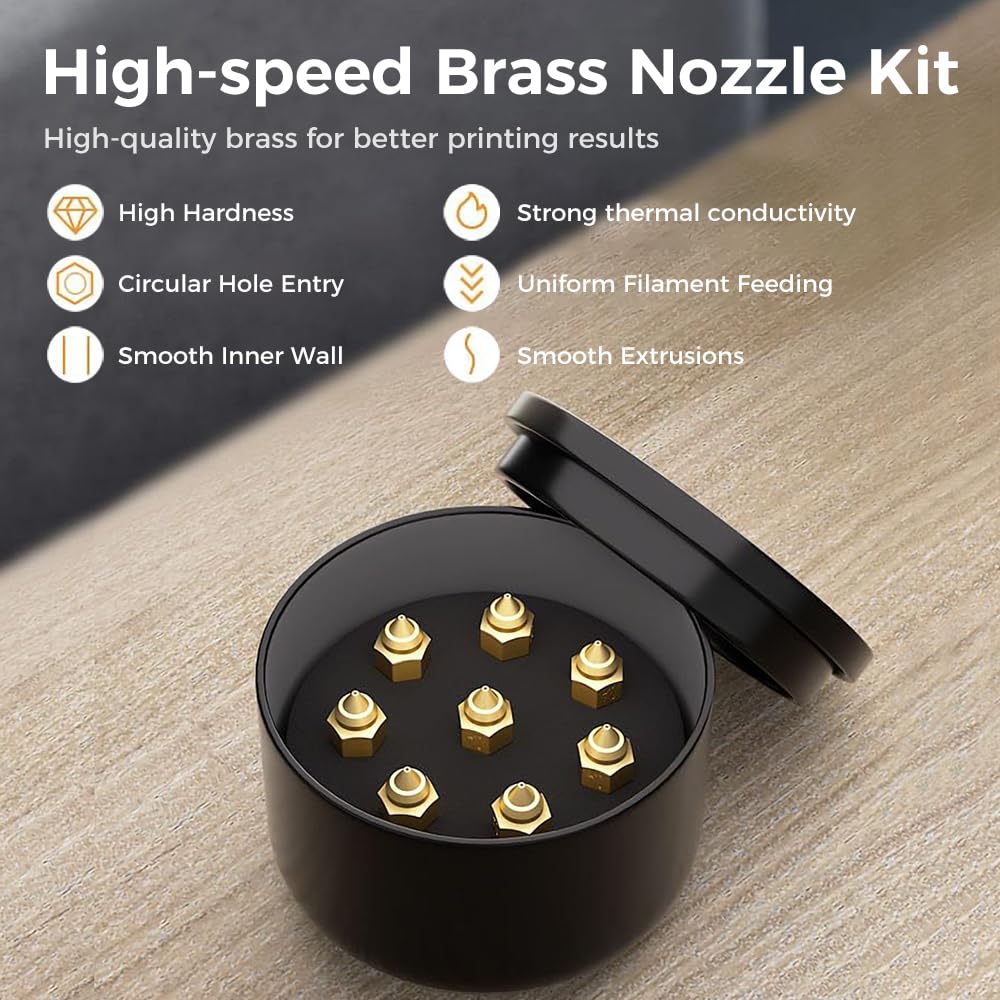
Cost: nothing. the printer came with a spare nozzle so that was fitted. I did at the time to ensure I always had a spare nozzle buy the 8 piece set of high speed brass nozzles from Creality through amazon for £15, so at less than a £2 relative repair, that is not bad. The kit also gives you a couple of different sizes which I will experiment with in the future.
I have since read that people use acupuncture needles to help clear nozzles, which I may try again in the future and keep in the 3d printer toolbox.
Upgrades?
No upgrades are needed for the printer but there are a few upgrades that I have done which have had a positive impact on quality of life.
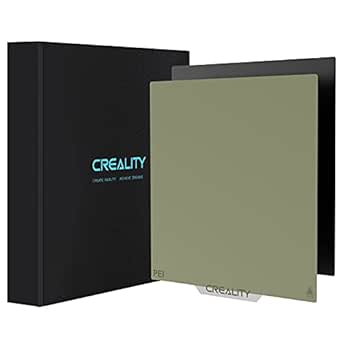
Smooth PEI Sheet - this has been great, and been on ever since the first week of getting the printer. Although hard to tell as was only used for the first week and my experience was NIL, the default sheet seemed to have adhesion issues compared to this one.

A widely discussed topic - bed cleaning. Initially the bed was cleaned routinely with an isopropyl alcohol mix and a microfibre cloth after every print, I did not have any issues with this method. As I started doing bigger/taller/longer prints I started using glue. With the glue, cleaning the bed every print was ineffective and felt unnecessary. As it is now, I haven't fully cleaned the full bed in around 6 months, with my build plate having a permanent hazing from the glue residue. Some might say this means my settings are wrong, but the end prints are fine so why change it?
Octoprint
My octoprint setup was put in place after 4 months, I have a number of raspberry pis laying around, so the only cost to me at this point was to buy a camera.
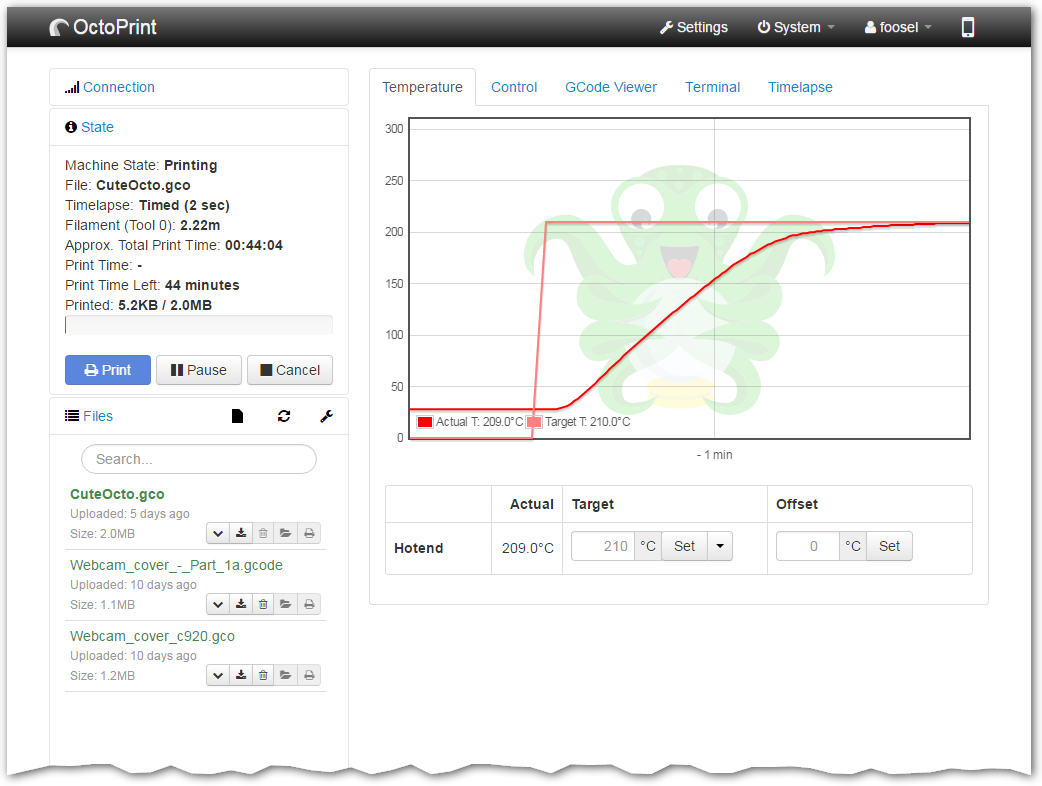
The octoprint setup improves the function and management of the printer massively. Starting/stopping prints remotely, monitoring them. Quickly setting off a previous print. Some fab plugins. There is so many benefits and great features of Octoprint it needs its own post, sometime in the future. Even if you only plan to monitor your printer from within the house its a really helpful piece of software.
Originally using a Raspberry Camera Module 3 NoIR, at a cost of £25, worked great no issues. I carelessly kncoked the sensor off the board when moving some heavy boxes around near my printer set up. Silly mistake. I have recently replaced the camera with a RaspberryPi v2.1 8mp camera at the cost of £4.21. Quality is not quite as crisp but for monitoring the printer, more than enough and I would recommend the cheaper one to anyone looking.
LED Lightbar
Another want rather than a need for the printer, an LED lightbar, also one that was controllable via home assistant and automation. I found the model on printables, printed the parts ordered a few extras. Nice and straightforward to do. The instructions may look scary to some people but if you take your time and follow them you wont/shouldn't do any damage to your printer.
Link: https://www.printables.com/model/803184-led-light-bar-for-ender-3-v3-ke-se-edition
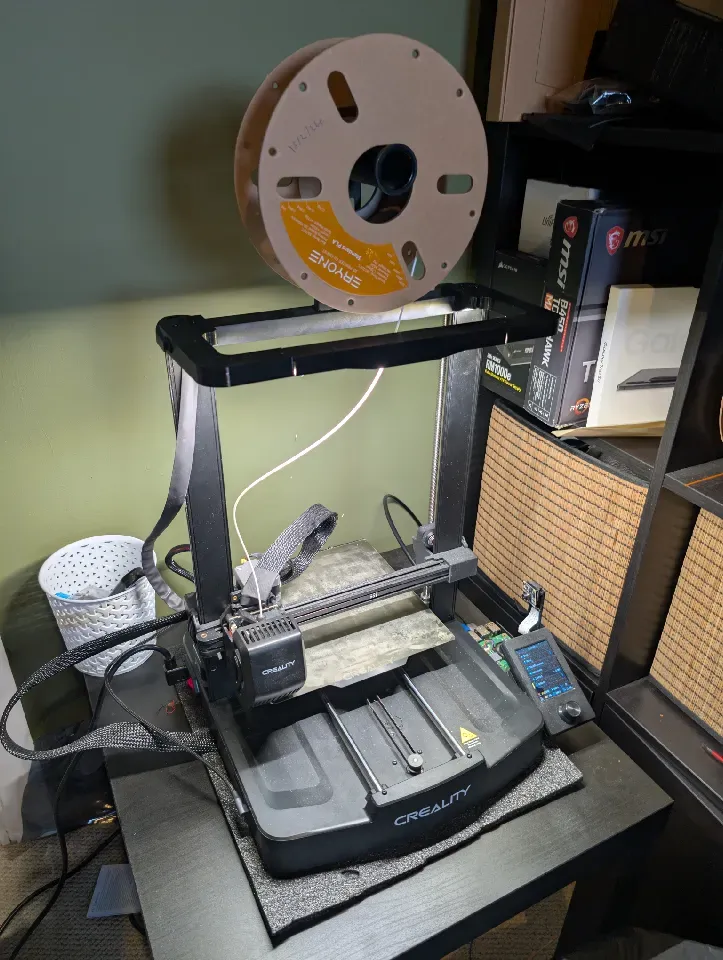
As well as remote checking on the printer through octprint, the led lightbar is helpful as it gives a nice bright working space on and immediately near the printer. I did wonder if the additional heat from the LED bar would cause any issues, but it's not noticeable.
A Few Favourite Models
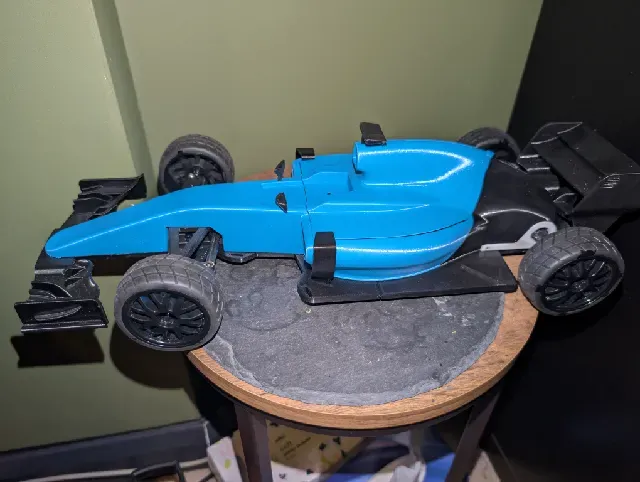
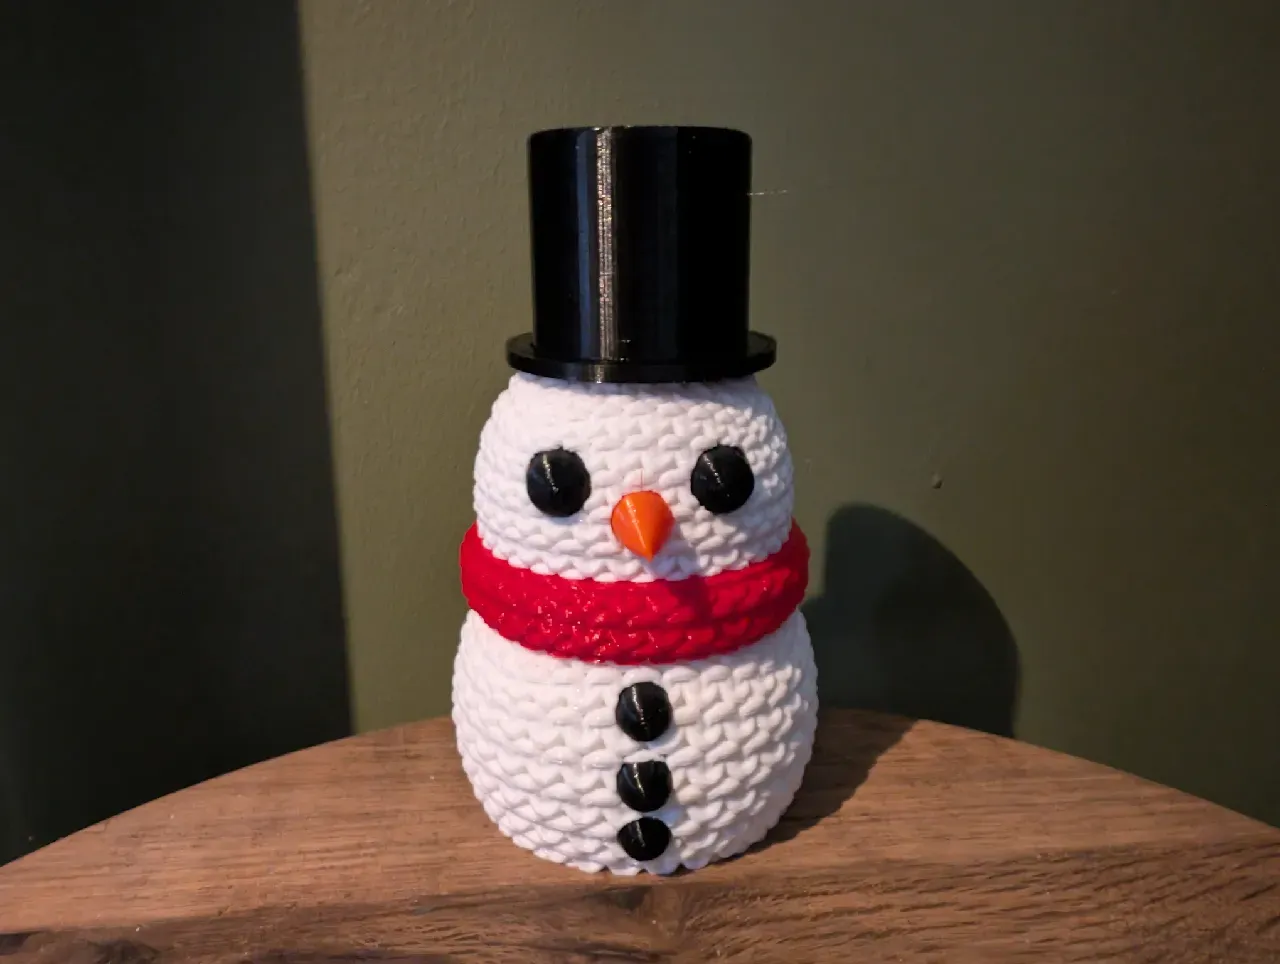
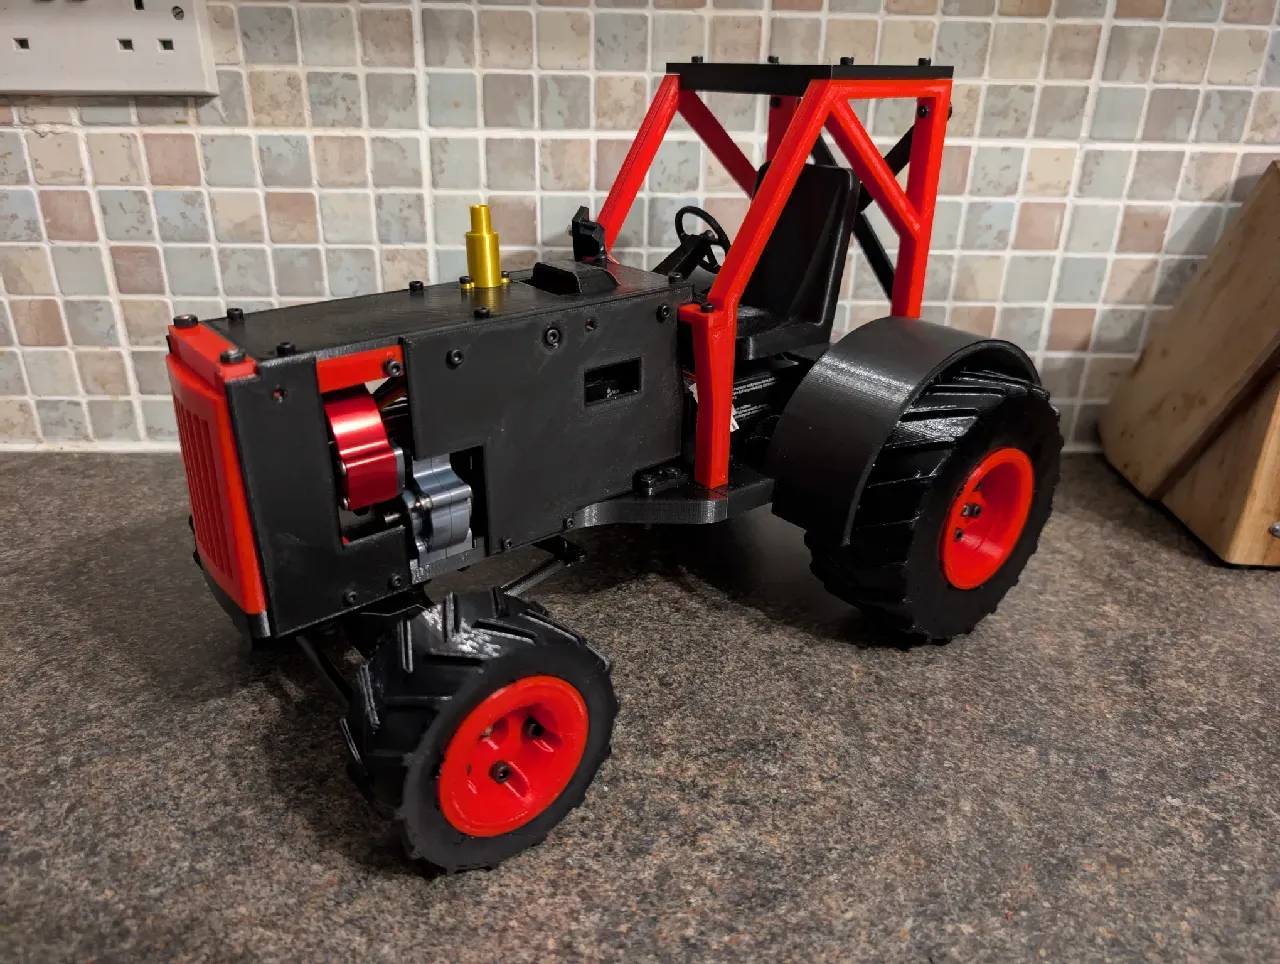
While I got the printer largely for functional prints and prototyping, I have come across some great models out there in the 3d printing community that I have enjoyed printing. Here are a few of my favourite not pure functional prints for you to check out.
